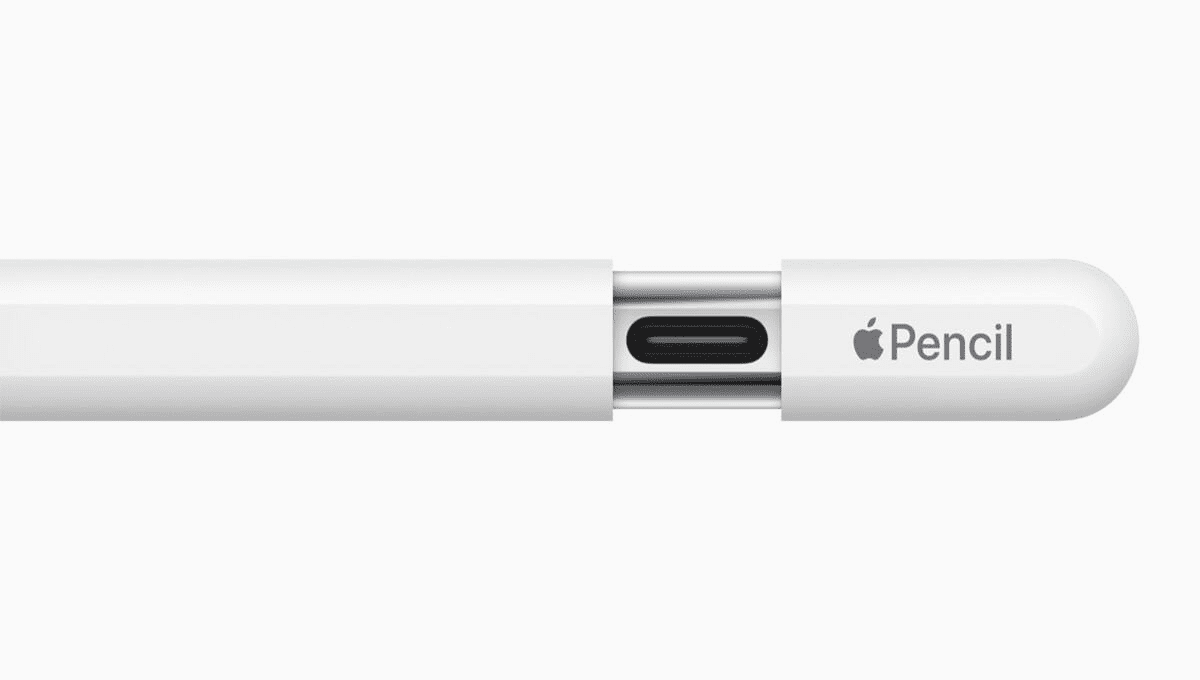
Charging an Apple Pencil is a straightforward process, but the exact method can vary depending on the version of the Apple Pencil you own. Apple has released two versions of its stylus: the original Apple Pencil, which is compatible with earlier iPad models, and the Apple Pencil (2nd generation), which works with newer iPads and offers a few upgraded features including a different charging method. Here, we’ll detail how to charge both versions of the Apple Pencil.
Charging the Apple Pencil (1st Generation)
The Apple Pencil (1st Generation) has a Lightning connector under the cap at the end of the pencil. Here’s how to charge it:
- Remove the Cap: Gently twist the cap located at the top of your Apple Pencil to reveal the Lightning connector. It’s magnetic, so it should come off quite easily.
- Plug it Into Your iPad: Insert the Apple Pencil’s Lightning connector into the Lightning port of your iPad. This is the same port you use to charge the iPad itself. When you plug in the Apple Pencil, a battery status will appear on the iPad screen, showing the current charge level.
- Wait for It to Charge: The Apple Pencil charges very quickly. It can gain up to 30% of battery life in just about 15 minutes of charging. For a full charge, it typically takes around an hour to an hour and a half. You can check the charge status at any time by swiping from left to right on the iPad’s Home screen to access the Today View, where a battery widget can be added to show your connected devices’ battery levels.
- Reattach the Cap: Once your Apple Pencil is charged, don’t forget to replace the cap to protect the Lightning connector.
REED ALSO : How To Use a Fire Extinguisher: The must have Life saving skill
Alternative Charging Method for Apple Pencil (1st Generation)
If you’re uncomfortable with having your Apple Pencil stick out of the side of your iPad, you can use the adapter that came with your Apple Pencil. Here’s how:
- Use the Lightning Adapter: The small Lightning adapter allows you to charge your Apple Pencil with a standard Lightning cable. Plug one end of a Lightning cable into a power source (like a USB charger or a computer’s USB port).
- Connect the Apple Pencil to the Adapter: Attach the Apple Pencil’s Lightning connector to the adapter.
- Connect the Cable to the Adapter: Plug the other end of the Lightning cable into the adapter.
- Charge as Needed: This method also takes about an hour for a full charge.
Charging the Apple Pencil (2nd Generation)
The Apple Pencil (2nd Generation) simplifies the charging process with wireless charging through magnetic attachment to the iPad.
- Attach to Your iPad: Simply attach your Apple Pencil to the magnetic connector on the side of your compatible iPad. This is usually the flat edge on one of the sides of the iPad Pro or iPad Air.
- Automatic Charging: Once attached, the Apple Pencil will automatically start charging. A battery status will briefly appear when you first attach the pencil, showing its current charge level.
- Check the Charge Status: To see how much charge your Apple Pencil has at any time, you can use the battery widget in the Today View on your iPad, just like with the 1st Generation.
- Leave Attached as Needed: The Apple Pencil (2nd Generation) charges relatively quickly and can be left attached to the side of the iPad for convenience and to ensure it’s always charged when needed.
Tips for Charging Your Apple Pencil
- Monitor Battery Life: Keep an eye on your Apple Pencil’s battery life to avoid running out of charge at inconvenient times. Utilizing the iPad’s battery widget is an efficient way to do this.
- Use Only What You Need: While it’s convenient to keep the 2nd Generation Apple Pencil attached to the iPad for charging, consider detaching it once fully charged if you’re not using it for an extended period. This can help manage the battery health of both the iPad and the Apple Pencil.
- Handle with Care: Both versions of the Apple Pencil are precision tools. When charging, especially with the 1st Generation model, make sure it’s connected to your iPad in a way that it won’t get bent or damaged.
Following these steps and tips will ensure that your Apple Pencil is always charged and ready when you need it, allowing you to get the most out of your iPad experience whether you’re taking notes, drawing, or simply navigating the device.

